Sourdough recipe
The search for a good loaf is a never ending odyssey.
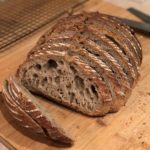
I’m natively from Seine Et Marne, in France ( 77 yo ). I grew up on two major type of breads. One was the baguette, which tend to be mainly white flour, and boules, which were darker round loaves with a rich crumb (mie) . This is the type I prefer. Although I’d never say no to a good baguette either.
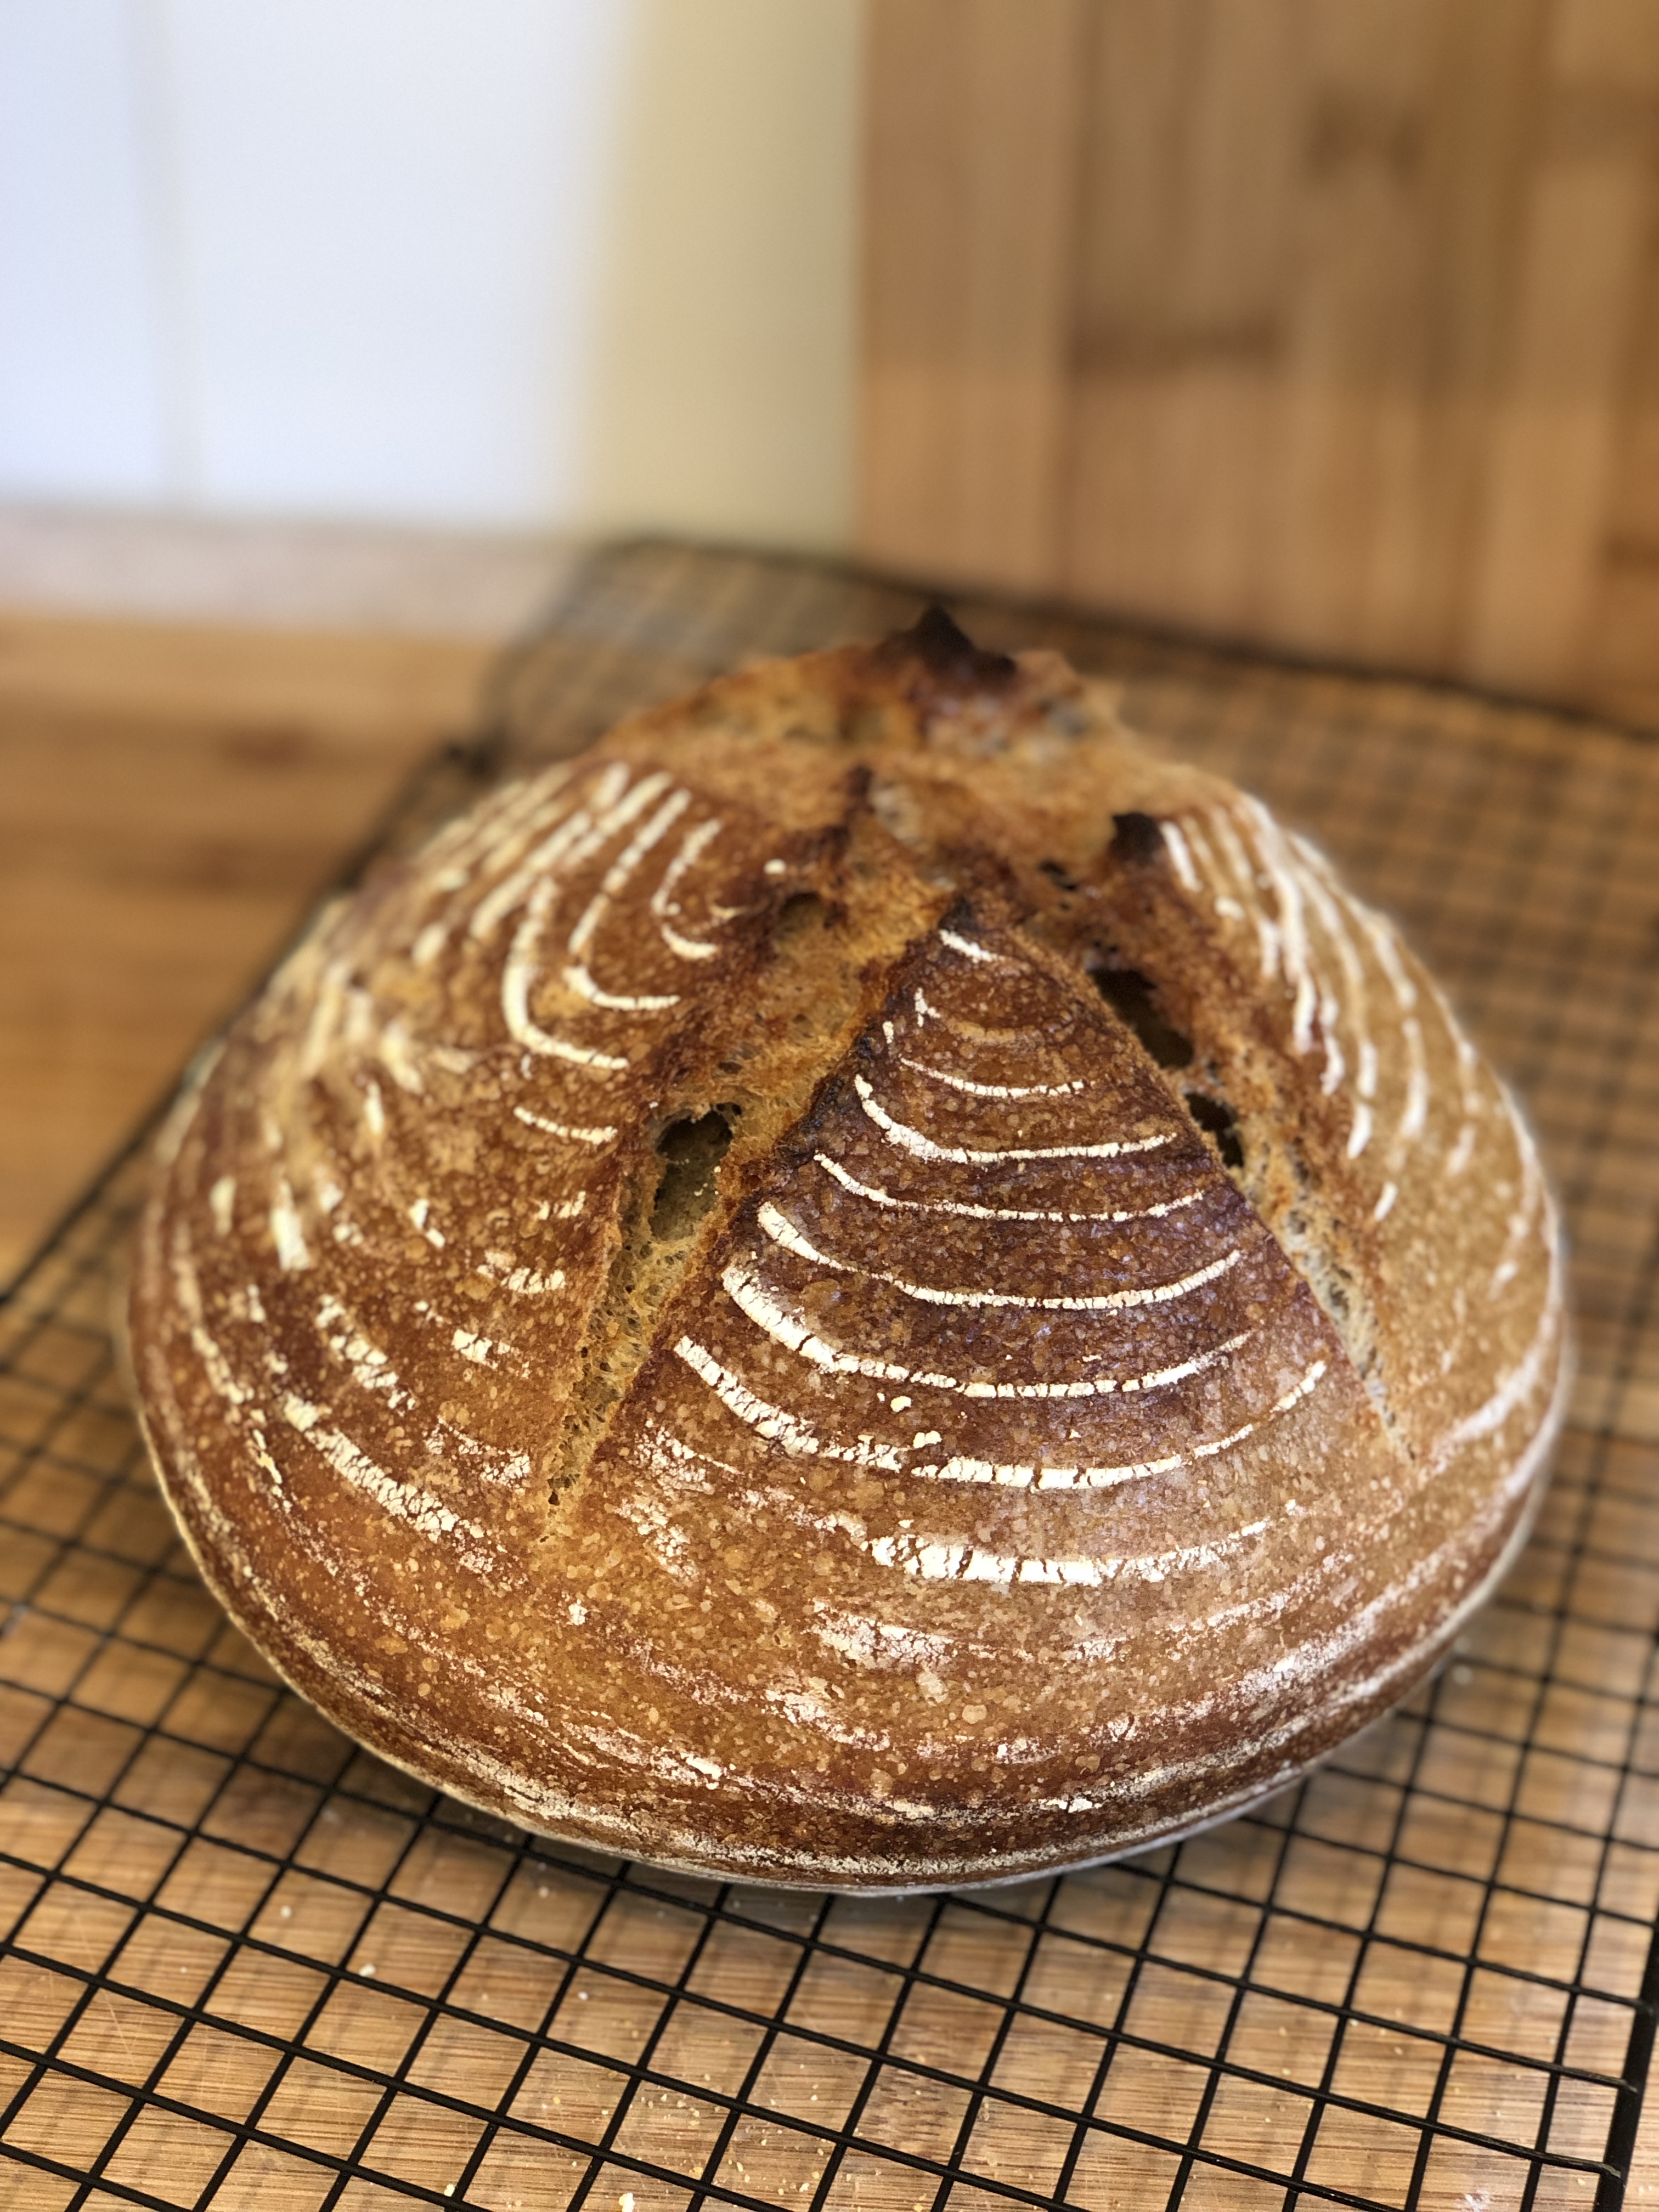
This recipe is a step in my quest to recreate that boule I use to get as a kid. I hope you like it!
Spelt Rye Sourdough
This is my sourdough recipe
Servings 2 1kg loaf
Equipment
- 2 large bowls
- dough scraper
- 3L cast iron dutch oven
- 2x proofing basket
- a penknife, a razorblade, a super sharp knife
- cooling rack
- 2x large serving platters with a lip ( 50x40cm )
Ingredients
Feed the starter
- 60 g sourdough starter
- 130 g water
- 50 g bakers flour
- 50 g wholegrain rye flour
Leaven
- 40 g mature sourdough starter
- 80 g water
- 40 g bakers flour
- 40 g wholegrain rye flour
Bread
- 200 g wholegrain spelt flour
- 100 g wholegrain rye flour
- 700 g bakers flour
- 800 g water
- 1 tbsp polenta
- 20 g salt
Instructions
Step 0 – Feed the Starter
- Stir the starter into the water
- Add and stir in the flour
- Leave on the bench if you plan to cook bread, or back in the fridge for a week.
- Use the remaining starter ( all 240g of it ) to make pancakes, waffles, crumpets, etc etc.
- You can keep that starter in the fridge, and use it at a later date too.
Step 1 – Setting the leaven – When: The night before ( around midnight ) …
- Mix 40g of mature starter with 80g of water
- Add 40g of wholegrain rye flour, and 40g of white baker flour, and mix thoroughly
- Let it seat at room temp for 4-8 hours

Step 1 – Setting the leaven – Alternative "i'm a hurry" method – When: you can set that leaven in the morning if you’ve fed the night before, and make your bread once this is full of life ( 2-4h later depending on temperature, flour, etc…)
- Mix 80g of mature starter with 60g of water
- Add 30g of wholegrain rye flour, and 30g of white baker flour, and mix thoroughly
- Let it seat at room temp for 2-4 hours
Step 2 – soak the flours – When: As you make the leaven.
- In a large glass/ceramic/metal bowl, combine the flours
- Form a well in the center, and add the water. Combine loosely.
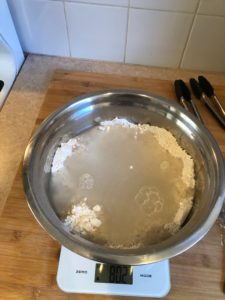
- Cover with a lid and set aside until your leaven is ready
Step 3 – combine the dough / autolysis – when: the morning ( around 8am )
- Combine the leaven with the flour from the night before.
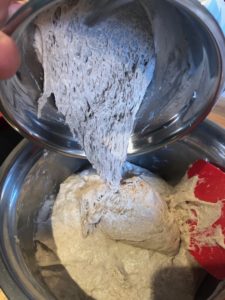
- Work the dough thoroughly so it is well combined. Use the dough whisk and a hand beater if you need to…
- Rest 20 mins
- Sprinkle half the salt onto the dough, and twist and pinch the salt into the dough. Repeat with the other half.
- Split the dough in half
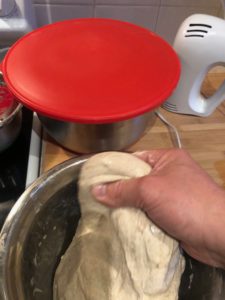
Step 4 – Stretching and folding the dough
- Wet your hands. This will make or break this step. Water will prevent the dough from sticking.
- reach under the bottom of the dough to unstick it from the bowl. The wet hands will make that relatively easy. If it isn't, dip your water into a bowl of water.
- Pull the dough to extend it, and fold it over itself
- Turn the bowl by a 1/4 of a turn and repeat the folding 4 times ( so to cover a full circle)
- Leave it for 30 mins
- Repeat 4 times
- After the last stretch and fold, leave the dough to rest for 1h. It should rise by around 1/3rd
Step 5 – Shaping
- In this phase we will shape the dough, so it is ready to rest in your proofing basket. Tip: In theory, bread makers have enormous bench space which can stay floured for hours on end. Not in my house. Kitchen bench space is PRIME REAL ESTATE, and you can get evicted at (pretty much) any time. If a kids needs a sandwich, you better be able to make it quick. Therefore I use large serving platters ( 50x40cm ), with a lip, so I can contain the flouring surface, and keep it mobile!
- Flour your benchtop ( or tray ). Don’t go overboard, you don’t want the dough to stick to the surface, but you don’t want to trap too much flour in the dough either.
- Drop your dough from your bowl in the middle of the surface
- Go around the dough with your hand, pushing the side towards the bottom of the dough. you have formed a roundish blob of dough. Cover it for 20 mins and leave it alone
- Using your dough scraper, go around the base of the dough and flip it over.
- You will now make a rectangle, and fold the dough over itself
- Pick one of the side that didn’t get folded, and repeat 3 times ( 4 folding in total )
- Rotate the dough 45 degrees, and repeat the stretching to a rectangle, folding in half, 4 times.
- Now you’ll have folded the dough 8 times. You will have a strange looking blob, and might not be able to move it anymore. use the scraper to bring it back together into a roundish shape.
- Leave your dough to rest for 20 mins, covered.
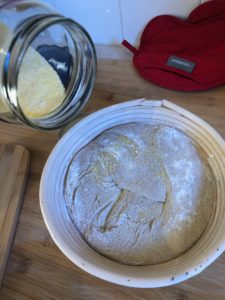
- Meanwhile, flour your proofing basket. Use a mixture of white flour / rice flour to flour the basket. The rice flour won’t stick much and make getting out of the basket easier.
- And now, the Final shaping. You’re getting close to the end…. In this last shaping, we are trying to fit more folds ( ie trap more air, ie get a lighter loaf) into our dough. Flour the bench around the dough, and the top of the dough.
- Flip it over so the smooth side is on the bench. Rather gently, stretch the top into a rectangle, fold over onto a square. Repeat with the left side. Then the right side, then the bottom.
- You are now facing a square of dough. Pick the top right corner, stretch it, and fold it to the middle. Repeat with the top left corner, the bottom left, and the bottom right corner.
- By now you should be looking at a rather messy dough. Flip it over. The face which was against the bench is now facing up, and is looking smooth. Use your flowered hands or your dough scrapper to shape a nice ball.
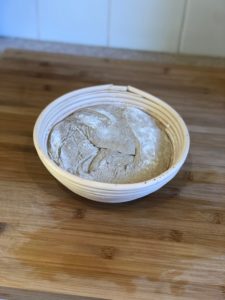
- Take this dough ball, and drop the smooth face into your proofing basket. Cover the dough with a cloth.
Step 6 – Cold Proofing
- Put the proofing baskets into the fridge overnight. A nice 12-14 hours will allow the dough to develop flavour. You have freedom around the timing with this cold proofing, so see what works best for you.
Step 7 – Cooking
- Put the closed dutch oven into your oven. Heat up to 260c.
- Take one of your proofed loaf out of the fridge
- Once the oven reaches 260c, take the dutch oven out, and take the lid off
- Sprinkle the polenta into the dutch oven, and also on the proofed loaf.
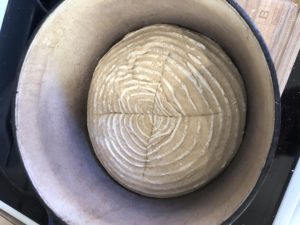
- Place the cutting board over your proofing basket, and flip it upside down. the loaf should gently come out of the basket. Shake it. Try not to break the outer skin of the loaf.
- Very carefully ( burning yourself is ultra easy at this point ), slide and drop the loaf off the cutting board onto the dutch oven.
- Score the bread top. You need to break through a few of the top layers of your dough. the thinnest the blade the easier this is.
- Put the lid back on ( careful, it’s hot! ), and put the dutch oven back in the oven.
- Take the temperature down to 240c and cook for 20 mins. ( if the bread hasnt broken open, you need more time. I'd add 5 mins to the timer, put the lid back on, and back in the oven)
- Take the lid off, and cook for another 20 mins. You want to stop when your loaf has a nice brown tinge to it.